
Every journey starts some where. As a pure novice to sourdough breads, I started my journey. My first sourdough was frought with problems that ultimately led to a bread that was unproofed and could be used as a door stop because it was so hard. When I made my English Muffinsthis week, I had some extra starter and tried my sourdough bread, again. While not 100% ‘spot on,’ it was a significant improvement. This article will explore the changes I made.
Starter
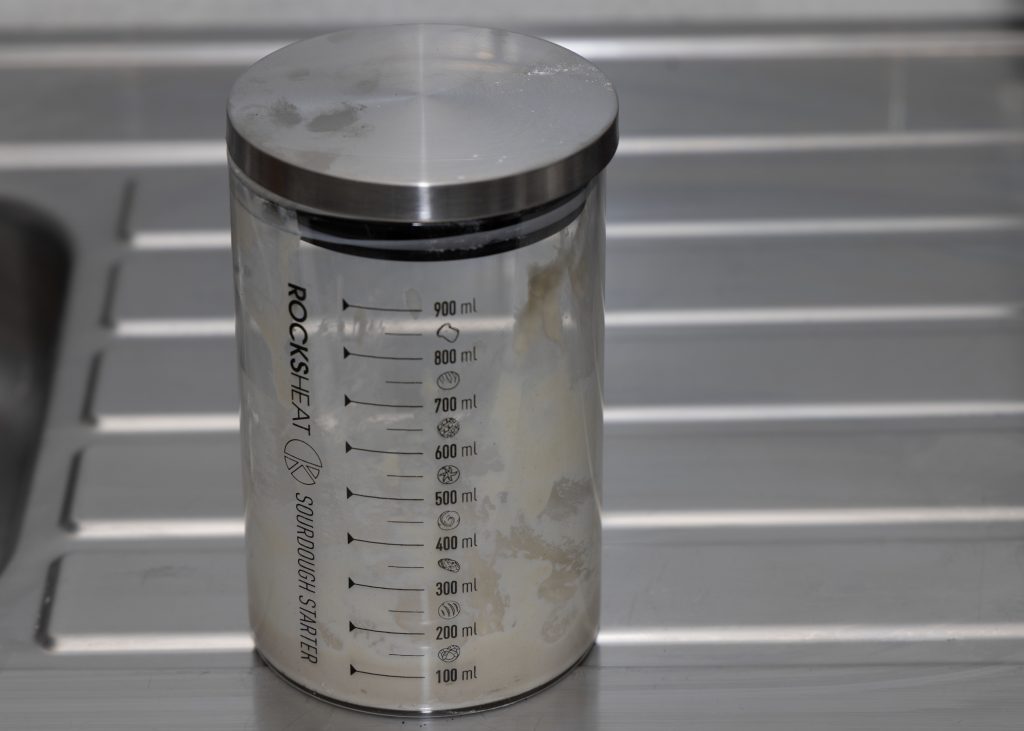
As I analyse the situation I note that my kitchen is on the warm side, running around 75 degrees Farenheit. Though, I do question, if for a part of the time with my first loaf, if the kitchen was cool under 70 degrees Farenheit. This led, at times, for my starter to ran runny and not growing as quickly. So to fix it, I had to vary the ration of starter, flour, and water for the feed. I found a 1 part starter to 2 parts flour and 2 parts water worked quite well and sometimes 1 parter starter, 1 part water, and 2 parts flour worked. However, if I used the latter then an extra stir was need about 1 – 2 hours later to ensure all of the flour got mixed and a 1:1:2 ratio was only needed for a day because the started would not rise if I kept using the 1:1:2 ration. What I found that was critical was ensuring the flour was fully mixed and I did feel the temperature of the water was also a factor. So, I tried to keep the water cool and not too high as it led, I feel, to a runny starter.
Making the bread
Once the starter was doubling in size, it was time to make the bread. The first time I added the starter to flour and salt it was a bit sticky. Relying on my previous bread making experience, the stickinees made me thing more flour was needed and I added a bit more flour. The second time, the flour soaked up the starter water mixture and was overly dry. So, again relying on previous experience, I thought water was needed.
As I look back, I do question if my intervention (adding more flour the first time and adding more water the second time) led to the results.
Both times, I found that the bread did rise quicker than expected. The second time the bred was showing it was being underproofed and I did make attempts to save it. First attempt was to do more stretching of the dough, which did make it less sticky. However, after letting it rest, it became sticky again and this time I did put it in the fridge for about an hour. After the hour, the dough was expected.
Cooking the Bread
The first time, I put it into a 5 quart dutch oven and covered it. When i took of the lid, the dough appeared somewhat flat and translucent. After it finished cooking, the first attempt the dough was so hard, I could not cut into it.
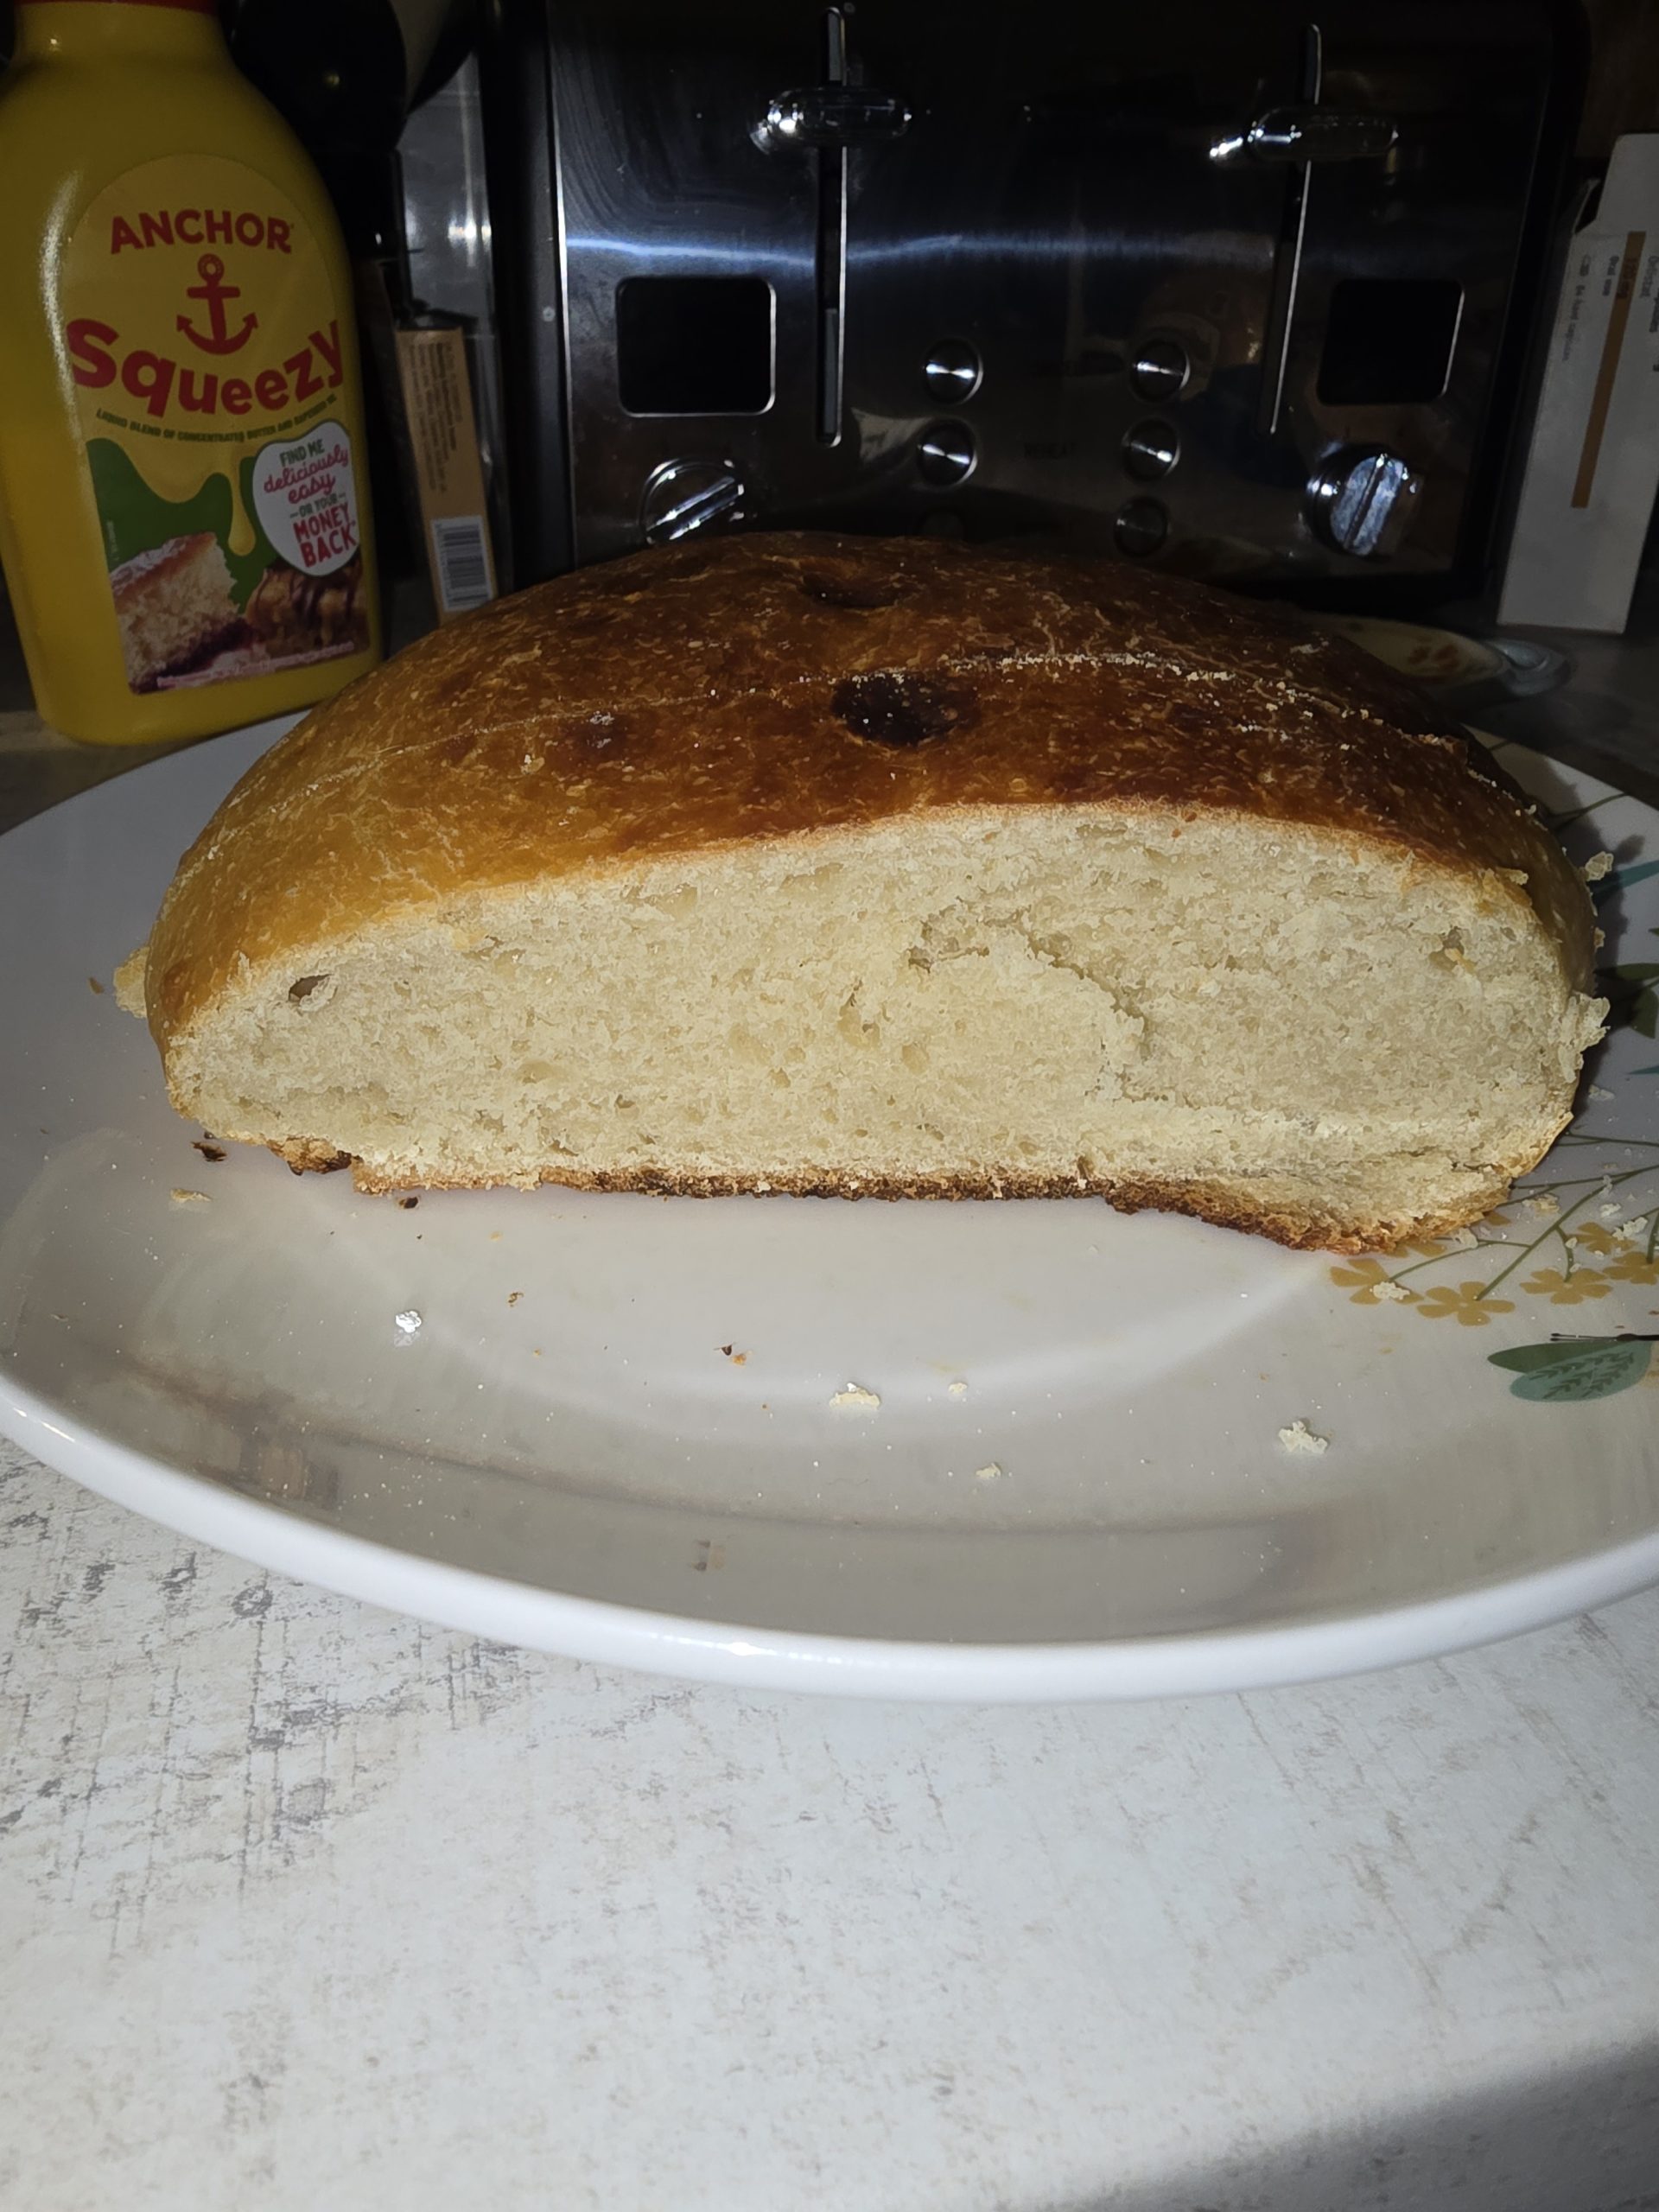
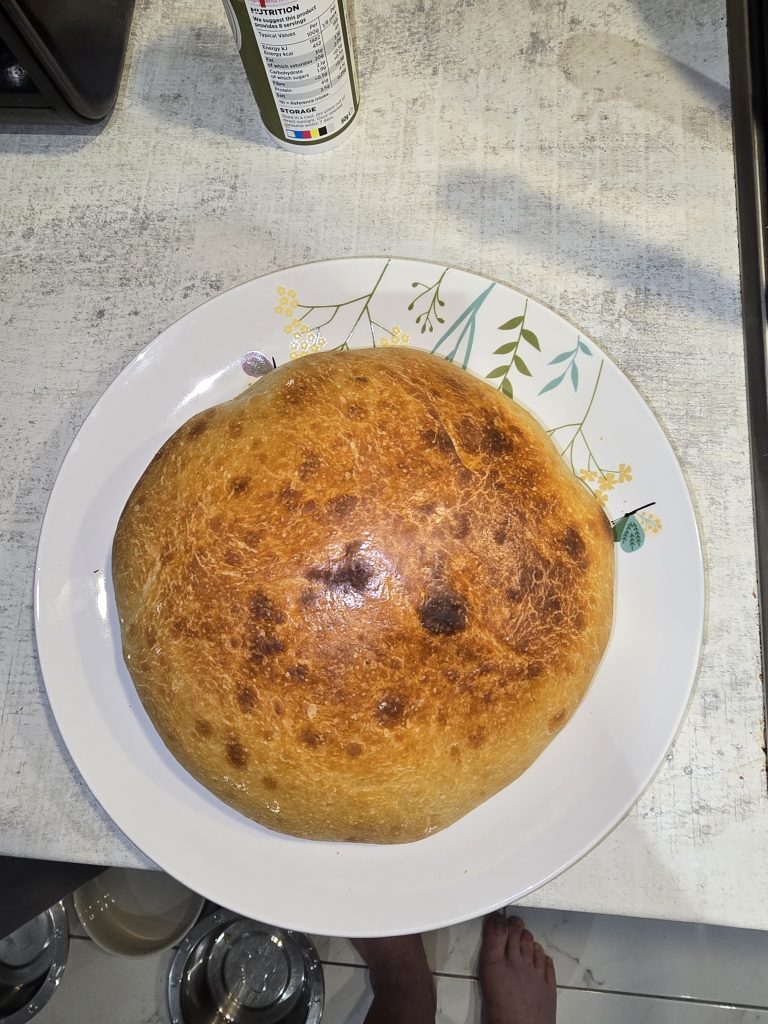
However, the second time, the dough did rise, it did have a few bubbles, and it slight browned when I took off the lid to the dutch oven. So, I cooked it without the lid. This time the dough did rise and it did brown. When I did cut into it, the dough looked a bit undercooked and a bit dense. Nonetheless, it is a significant improvement from my first attempt.

My takeaways
From my first two experiences, I have learnt kitchen temperature, mixing ratio, and to some extent the temperature of the water used influences the starter. I do expect my next attempt will mean further improvement on my journey in making the ultimate sourdough bread.